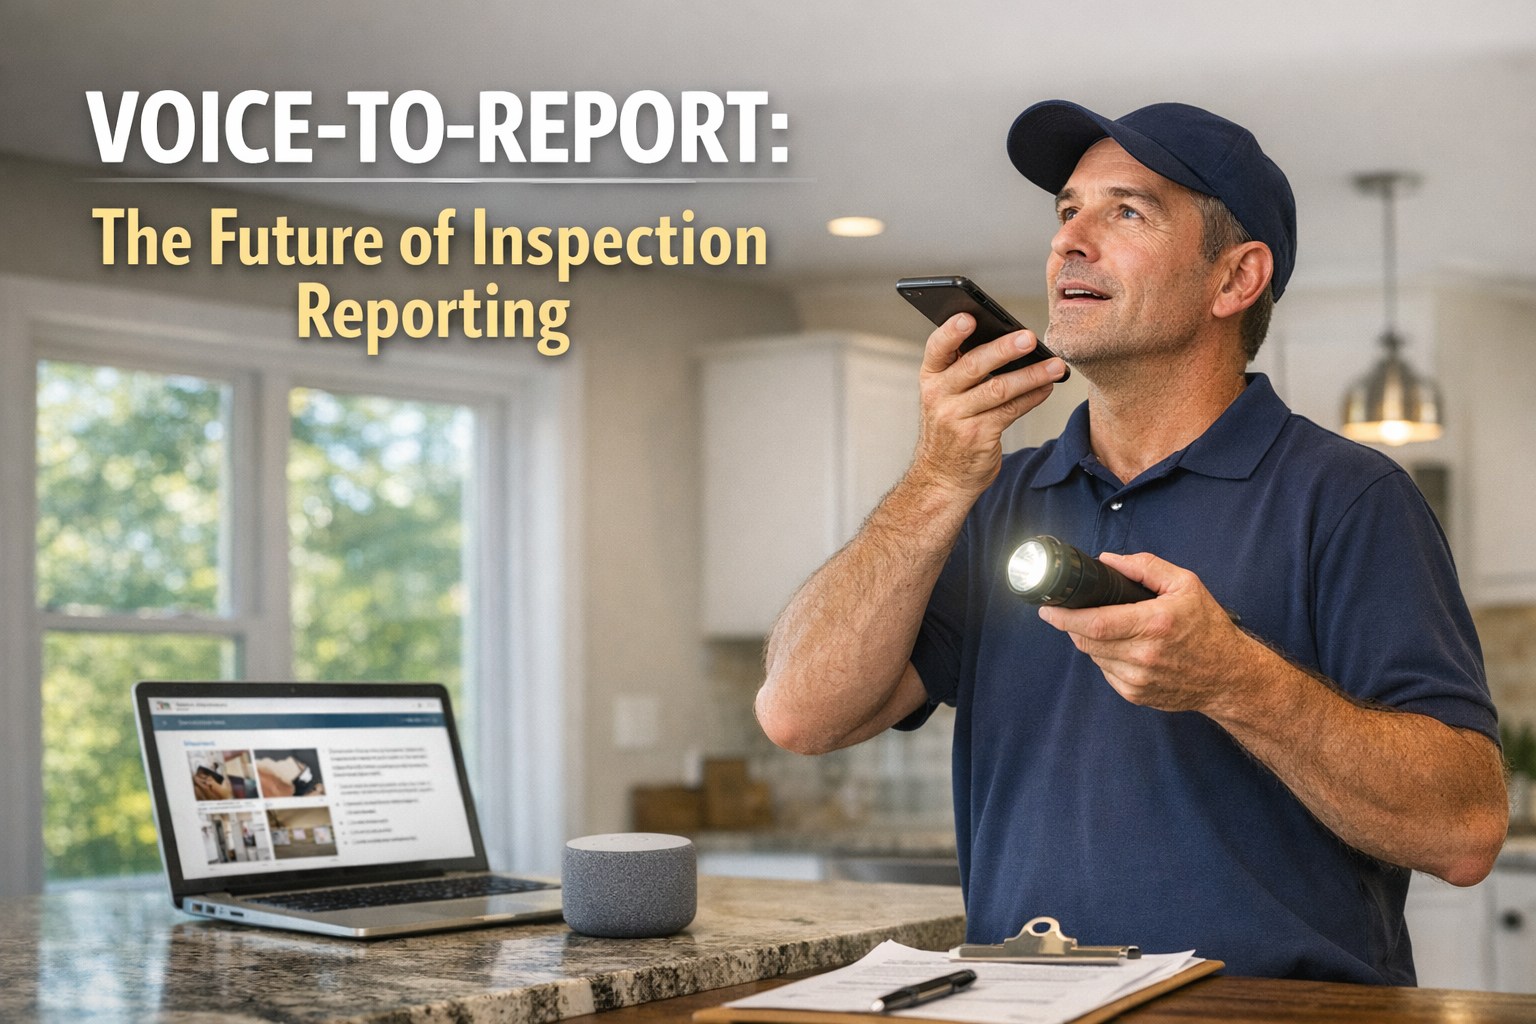
This inspection checklist covers structural integrity, flashing condition, firebox assessment, damper operation, clearances, and safety components to provide a comprehensive evaluation of residential chimney systems.
Chimneys are critical safety components that vent dangerous combustion gases from fireplaces, furnaces, water heaters, and other fuel-burning appliances. When chimneys failwhether from structural deterioration, improper clearances, or blockages—the consequences can be catastrophic, including house fires, carbon monoxide poisoning and smoke damage. According to the Chimney Safety Institute of America, defective chimneys are responsible for over 25,000 house fires annually in the United States.
This comprehensive chimney inspection checklist guides home inspectors through systematic evaluation of all visible chimney components following ASHI and InterNACHI Standards of Practice. Regular inspections help identify potential safety hazards before they lead to property damage or occupant harm.
Sign up free to digitize chimney inspections · Complete coverage: cap, crown, flashing, firebox, damper, clearances, and safety components—all tracked automatically with digital inspection management.
Pre-Inspection Preparation
Initial assessment and documentation before detailed chimney evaluation begins.
- Identify number of chimneys on property
- Determine chimney type (masonry, factory-built, metal)
- Identify appliances served by each chimney/flue
- Note chimney material (brick, stone, block, stucco)
- Estimate approximate chimney age
- Check if fireplace has been used recently (ash present)
- Note any visible chimney modifications or repairs
- Plan safe access method for exterior inspection
- Prepare flashlight for firebox and damper inspection
- Ensure camera ready for documenting defects
- Review for obvious safety hazards before detailed inspection
Exterior Masonry Inspection
Evaluate structural integrity and condition of chimney masonry from ground level and roof if accessible.
- Inspect overall chimney condition from ground level
- Check for leaning, tilting, or separation from house structure
- Look for visible cracks in masonry (vertical, horizontal, stair-step)
- Inspect mortar joints for deterioration or missing mortar
- Check for spalling bricks (surface flaking off)
- Look for efflorescence (white mineral deposits indicating moisture)
- Inspect chimney at roof penetration point
- Verify chimney height minimum 3 feet above roof penetration
- Confirm chimney extends 2 feet above any roof surface within 10 feet
- Look for vegetation growth in mortar joints
- Check for evidence of previous repairs or patches
- Note any structural concerns requiring specialist evaluation
Chimney Cap and Crown
Top components protecting flue from weather, animals, and debris entry.
- Verify chimney cap is present
- Check cap for damage, rust, or deterioration
- Verify cap mesh screen intact (spark arrestor function)
- Check mesh not clogged with creosote or debris
- Inspect chimney crown condition on masonry chimneys
- Look for cracks in crown surface
- Verify crown slopes away from flue opening
- Check crown extends beyond chimney walls (overhang)
- Look for crown sealant or coating condition
- Note missing caps or crowns as significant defects
Chimney Flashing
Water intrusion prevention at roof-to-chimney intersection.
- Inspect flashing at roof-to-chimney intersection
- Verify step flashing present on sloped sides
- Check counter-flashing installed into mortar joints
- Look for gaps or separation in flashing
- Check for rust or corrosion on metal flashing
- Inspect sealant condition at flashing joints
- Look for tar or caulk-only repairs (temporary fixes)
- Check cricket/saddle present if chimney over 30 inches wide
- Verify cricket properly flashed and draining
- Note any evidence of water intrusion at flashing
Attic Chimney Inspection
Clearances and concealed chimney condition in attic spaces.
- Inspect chimney where it passes through attic
- Verify proper clearance from combustibles (2 inches minimum for masonry)
- Check for combustibles stored against chimney
- Inspect masonry for cracks or deterioration
- Look for smoke staining indicating flue leaks
- Check for evidence of condensation or moisture
- Verify no framing in direct contact with chimney
- Inspect any visible cleanout doors
- Check for proper fire-stopping at floor/ceiling penetrations
- Note any clearance violations as fire hazards
Firebox Inspection
Combustion chamber condition and structural integrity assessment.
- Identify fireplace type (masonry, factory-built, insert)
- Inspect firebox walls for cracks or damage
- Check firebrick condition and mortar joints
- Look for missing, loose, or damaged firebricks
- Inspect firebox floor condition
- Check for heat damage or deterioration
- Verify firebox depth adequate (minimum 20 inches typical)
- Inspect back wall for damage or separation
- Check for creosote buildup in visible areas
- Look for evidence of chimney fires (glazed creosote, cracked tiles)
- Note any previous repairs or patches in firebox
Damper Inspection
Draft control mechanism function and condition assessment.
- Locate and identify damper type (throat, top-mount)
- Test damper operation—opens fully
- Test damper operation—closes completely
- Inspect damper plate condition
- Look for rust, corrosion, or warping
- Check damper handle or control mechanism function
- Verify damper seals when closed (check for gaps)
- Look for damper bypass or air leaks
- Note stuck or inoperable dampers
- Check if damper has been removed or is missing
Smoke Chamber and Flue
Visible flue condition and creosote buildup assessment.
- Inspect visible portion of smoke chamber from firebox
- Check for smooth, parged smoke chamber walls
- Look for corbeled bricks (stepped construction—less efficient)
- Inspect smoke shelf condition if visible
- Check for debris accumulation on smoke shelf
- Look up into flue with flashlight
- Check for visible flue liner presence
- Identify liner type (clay tile, metal, cast-in-place)
- Look for visible cracks or damage in liner
- Assess creosote buildup level (light, moderate, heavy)
- Note any obstructions visible in flue
- Recommend professional cleaning if buildup exceeds 1/8 inch
Hearth and Clearances
Fire safety clearance requirements verification.
- Inspect hearth extension condition
- Verify hearth extends minimum 16 inches in front of opening
- Check hearth extends minimum 8 inches beyond each side
- Verify hearth is non-combustible material
- Check for cracks or damage in hearth surface
- Inspect mantel clearance from fireplace opening
- Verify combustibles not within 6 inches of opening sides
- Check combustible mantel minimum 12 inches above opening
- Inspect wall surfaces adjacent to fireplace
- Verify no combustible materials in direct contact
- Document any clearance violations as fire hazards
Gas Fireplace Inspection
Gas-fired unit specific inspection requirements.
- Identify gas fireplace type (vented, vent-free, direct-vent)
- Locate gas shut-off valve and verify accessibility
- Inspect visible gas line connection
- Check for gas odors (do not operate if detected)
- Verify clearances from combustibles per manufacturer
- Check glass front panel condition and seal
- Inspect artificial logs or media placement
- Test fireplace operation if pilot light present
- Check venting configuration appropriate for unit type
- Verify oxygen depletion sensor (ODS) on vent-free units
- Inspect exterior termination for direct-vent units
- Check for carbon monoxide detector in room
Safety Components
Safety devices and related equipment inspection.
- Check for fireplace screen or glass doors
- Verify ash dump door operates (if present)
- Check ash pit cleanout accessibility
- Inspect outside combustion air supply if present
- Verify gas key valve accessible but secured
- Check for carbon monoxide detectors nearby
- Verify smoke detectors in area
- Check fire extinguisher accessibility
- Inspect chimney cleanout door at base (if accessible)
- Verify cleanout door closes tightly
Documentation and Reporting
Final documentation and professional report requirements.
- Document chimney type, material, and approximate age
- Photograph all identified defects
- Record appliances served by each flue
- Note damper condition and operation
- Document creosote level if visible
- List all clearance violations
- Prioritize defects by safety significance
- Note areas that could not be inspected and why
- Include CSIA chimney sweep referral where warranted
- Document items requiring immediate attention
- Provide maintenance recommendations to client
Chimney Inspection Best Practices
These guidelines outline recommended practices for thorough chimney inspections. Following these standards helps identify potential safety hazards and ensures comprehensive documentation.
Use Proper Lighting
Always use a bright flashlight when inspecting the firebox and looking up into the flue. Adequate lighting is essential for identifying creosote buildup, cracks, mortar deterioration, and liner damage that may not be visible otherwise.
Document Everything
Take dated photographs of all defects found during inspection. Photograph cap condition, firebox damage, flashing issues, and clearance violations to support your written findings and protect against liability.
Verify Clearances
Always measure hearth extensions and mantel clearances. Do not estimate—use actual measurements to verify code compliance for combustible clearances. Clearance violations are fire hazards requiring immediate correction.
Test Damper Operation
Always physically operate the damper to verify it opens fully and closes completely. A visual-only check can miss stuck or damaged dampers. An inoperable damper stuck open causes significant energy loss equivalent to leaving a window open year-round.
Check Multiple Angles
Inspect the chimney from ground level, roof level if accessible, attic space, and interior firebox. Different vantage points reveal different defects that may not be visible from a single location.
Know Your Limits
Home inspection is a Level 1 visual inspection of readily accessible components. Recommend CSIA-certified chimney sweep evaluation for suspected defects, wood-burning units prior to use, or when flue condition cannot be adequately verified visually.
Step-by-Step Inspection Procedure
Follow these structured procedures to ensure thorough and consistent chimney inspections.
Exterior Assessment
- Begin inspection from ground level with binoculars if needed
- Document chimney location, type, and material
- Assess overall structural condition before detailed inspection
- Note any obvious defects visible from distance
- Plan safe access for closer inspection if required
Roof Level Inspection
- Inspect cap, crown, and flashing condition
- Verify chimney height above roof meets requirements
- Check for proper cricket installation on wide chimneys
- Document flashing condition and any water entry points
- Photograph all visible defects from roof level
Attic Inspection
- Locate chimney penetration through attic space
- Verify clearances from all combustible materials
- Check for fire-stopping at floor/ceiling penetrations
- Look for evidence of flue leaks or moisture intrusion
- Document any clearance violations found
Interior Firebox Inspection
- Identify fireplace type and fuel source
- Inspect firebox walls, floor, and back panel
- Test damper operation—open and close fully
- Look up into flue with flashlight for visible defects
- Assess creosote buildup level and recommend cleaning if needed
- Verify hearth and mantel clearances meet requirements
Clearance Requirements Reference
| Component | Minimum Clearance | Application |
|---|---|---|
| Masonry chimney to combustibles | 2 inches | Framing, insulation in attic |
| Single-wall flue pipe | 18 inches | To any combustible material |
| Double-wall flue pipe | 6 inches | To any combustible material |
| Hearth extension—front | 16 inches | Beyond fireplace opening |
| Hearth extension—sides | 8 inches | Beyond fireplace opening |
| Combustible mantel above opening | 12 inches | Minimum vertical clearance |
| Combustibles at opening sides | 6 inches | Horizontal from firebox edge |
| Chimney height above roof | 3 feet | Above penetration point |
| Chimney 10-foot rule | 2 feet | Above any roof within 10 feet |
Common Chimney Defects Reference
| Defect | Location | Significance |
|---|---|---|
| Missing chimney cap | Chimney top | Water entry, animal intrusion, blockage risk |
| Cracked flue liner | Inside flue | CO leak, fire spread to structure |
| Heavy creosote buildup | Inside flue | Chimney fire hazard |
| Clearance violation | Attic/walls | Fire spread to combustibles |
| Deteriorated mortar joints | Exterior masonry | Water intrusion, structural failure |
| Failed flashing | Roof intersection | Water intrusion, hidden damage |
| Inoperable damper | Throat area | Draft problems, energy loss |
Conclusion
Implementing this comprehensive Chimney Inspection Checklist is essential for maintaining safety standards and providing thorough documentation to clients. Chimney defects can lead to house fires, carbon monoxide poisoning, and extensive property damage—making thorough inspection critical for every home inspection.
For optimal inspection management, consider implementing the HomeInspecto App to streamline your chimney inspection process. HomeInspecto provides digital checklists, photo documentation, and professional report generation.
Frequently Asked Questions
What is a Level 1 chimney inspection?
A Level 1 inspection is a visual examination of readily accessible portions of the chimney exterior, interior, and appliance connection. It is the standard scope for home inspections when the chimney has been used regularly without known problems. Level 2 inspections (with video cameras) and Level 3 inspections (with demolition) are performed by chimney professionals when problems are suspected.
Why is the chimney cap important?
The chimney cap prevents rain, snow, animals, and debris from entering the flue. Missing caps allow water to deteriorate the flue liner and firebox, enable animal nesting that blocks the flue, and permit spark escape that could ignite nearby combustibles. A missing cap should always be flagged as a significant defect requiring immediate attention.
What clearance is required from combustibles?
Masonry chimneys require 2-inch minimum clearance from combustible materials in attics and concealed spaces. Single-wall connector pipes need 18 inches clearance, while double-wall pipes typically need 6 inches. Hearths must extend 16 inches in front and 8 inches to each side of the opening. Combustible mantels must be at least 12 inches above the fireplace opening.
When should I recommend a chimney sweep?
Recommend CSIA-certified chimney sweep evaluation when: creosote buildup exceeds 1/8 inch, any visible flue liner damage, evidence of previous chimney fires, any wood-burning appliance before use, suspected blockages or obstructions, unusual odors, or any condition beyond visual inspection scope. When in doubt, recommend professional evaluation.
How do I identify evidence of chimney fires?
Signs of previous chimney fires include: puffy, honeycombed, or shiny glazed creosote; warped metal damper or connector pipe; cracked, collapsed, or missing flue tiles; discolored or warped rain cap; creosote flakes on roof or ground; and distorted mortar joints. Any suspected chimney fire evidence requires professional evaluation before use.
What should I document if areas are inaccessible?
Always note in your report any areas that could not be inspected and explain why—such as roof access limitations, locked cleanout doors, or concealed chimney sections. This protects both the inspector and client by clearly identifying the scope of inspection performed and areas requiring further evaluation by specialists.