Home inspectors face a familiar challenge: balancing thoroughness with efficiency. You need to document hundreds of components, capture clear photos, write detailed notes, and deliver professional reportsoften while clients and agents wait. Traditional clipboard-and-camera methods create bottlenecks, and desktop software means hours of after-hours report writing.
Mobile inspection software changes this equation. When your inspection tool works the way you workon-site, in real-time—you can complete reports before leaving the property. This guide walks through how to use HomeInspecto for home inspections, covering the complete workflow from scheduling through report delivery.
Whether you're evaluating home inspection apps or looking to get more from your current setup, this step-by-step tutorial covers the practical techniques that help inspectors work faster without sacrificing quality.
What Is HomeInspecto?
HomeInspecto is a mobile-first inspection platform designed for completing professional inspection reports entirely on-site. The software combines scheduling, standardized checklists, photo documentation, and report generation into a single mobile workflow.
The platform is built around a few core principles: reliability in the field (including full offline capability), consistency through standardized inspection checklists, and efficiency through features like voice dictation and smart templates.
Who Is It For?
The software serves several inspector profiles. Solo inspectors benefit from the streamlined mobile workflow that eliminates desk time. Multi-inspector firms use the standardized checklists to maintain consistent quality across their team. New inspectors appreciate the structured approach that ensures nothing gets missed during inspections.
The platform works on both iOS and Android devices, with cloud sync that keeps data accessible across phones, tablets, and desktop browsers when needed.
Step 1: Scheduling and Setting Up an Inspection
Every inspection starts with proper setup. Getting the details right before you arrive saves time on-site and ensures your final report contains accurate property information.
Creating a New Inspection
From the dashboard, tap "New Inspection" to begin. Enter the property address—the app will auto-populate location data when possible. Add client contact information, real estate agent details, and any special instructions or access codes.
Select the appropriate inspection type. Standard residential inspections use the default template, but you can choose specialized templates for condos, townhomes, new construction, or commercial properties. Each template loads the relevant checklist sections automatically.
Pre-Inspection Agreements
Before arriving on-site, send the inspection agreement for electronic signature. The platform supports e-signatures, allowing clients to review and sign documents from their phone or email. This eliminates paper shuffling at the property and ensures you have signed agreements before beginning work.
You can customize agreement templates with your company's terms, limitations, and pricing. Once signed, agreements are stored with the inspection record for future reference.
Step 2: Using the Inspection Checklist App On-Site
The inspection checklist is the core of your mobile home inspection workflow. A well-structured checklist ensures consistent coverage across every property while keeping you moving efficiently through each area.
Navigating the Checklist Interface
When you open an inspection, you'll see the main checklist organized by system or area—Exterior, Roof, Structure, Electrical, Plumbing, HVAC, Interior, Attic, and so on. Tap any section to expand it and view individual inspection items.
Each item offers multiple response options: Inspected (satisfactory), Deficient (needs attention), Not Inspected, or Not Present. For deficient items, you can add detailed notes, photos, and severity ratings.
Working Through the Property
Most inspectors develop a consistent walkthrough pattern. A common approach starts with the exterior perimeter, moves to the roof, then works through interior systems before finishing with attic and crawlspace areas. The app supports any sequence—items can be completed in whatever order matches your physical path through the property.
As you work, the progress indicator shows completion percentage for each section. This helps ensure you haven't skipped areas before moving to the next part of the property. [Internal Link: Home Inspection Checklist Guide]
Adding Defects and Comments
When you identify a defect, tap the item and select "Deficient." The app opens a detail screen where you can describe the issue, add photos, and select from your comment library or type custom notes.
Comment libraries save significant time. Instead of typing common observations repeatedly, you select pre-written descriptions that you've refined over time. For example, a comment about missing GFCI protection in a kitchen can be selected in seconds rather than typed from scratch at each property.
Step 3: Capturing Photos and Using Voice Dictation
Photo documentation is essential for defensible inspection reports. The app integrates photo capture directly into the inspection workflow, eliminating the need to match separate camera photos to report items later.
Taking and Annotating Photos
From any checklist item, tap the camera icon to capture a photo. The image automatically attaches to that specific item with timestamp and location data embedded. You can take multiple photos per item when needed to document different angles or details.
After capturing, use the annotation tools to add arrows, circles, or text that highlight specific issues. A photo of a water heater with an arrow pointing to corrosion communicates more clearly than an unmarked image.
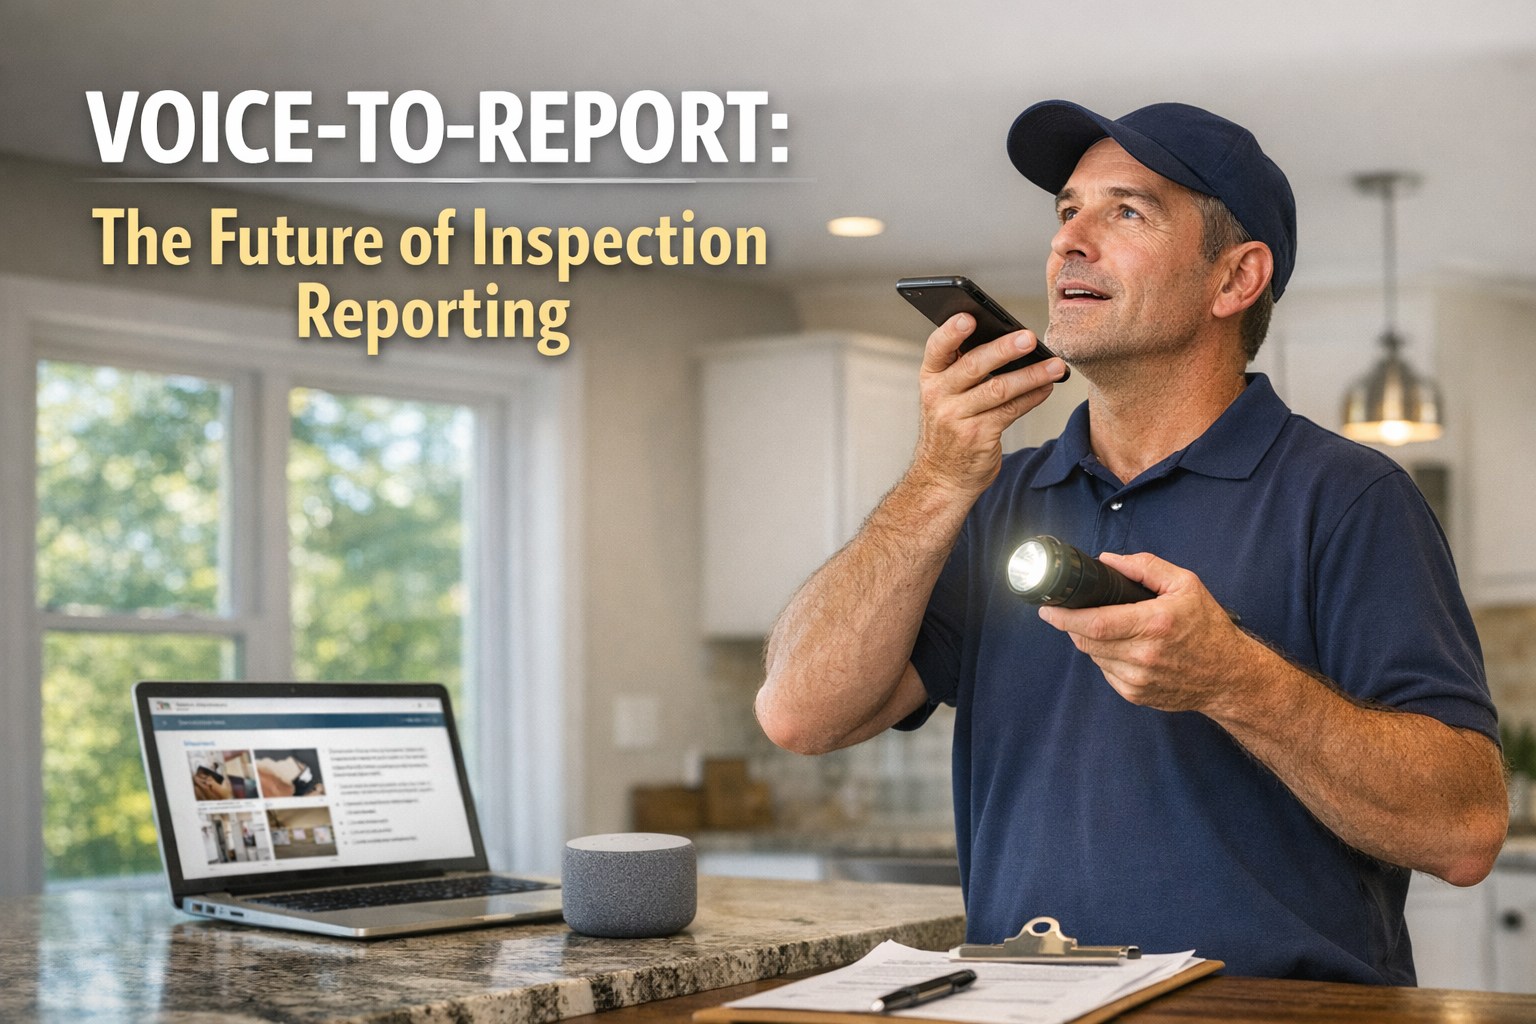
Using Voice Dictation for Notes
Typing detailed notes on a phone screen slows you down. Voice dictation solves this problem. Tap the microphone icon and speak your observations—the app converts speech to text in real-time.
Voice dictation for inspections works best with clear, concise statements. Instead of rambling descriptions, speak in complete sentences: "Water staining observed on ceiling below master bathroom. Recommend further evaluation by licensed plumber." The transcription handles technical terminology well, though reviewing dictated text before moving on catches occasional errors.
Want to Try These Features?
If you're exploring mobile inspection workflows, test these features with a free trial before committing long-term. Hands-on experience during actual inspections reveals more than any demo.
Step 4: Working Offline During Inspections
Cellular coverage isn't reliable in every basement, rural property, or concrete structure. An offline inspection app ensures you can work continuously regardless of connectivity.
How Offline Mode Works
The platform automatically detects when you lose internet connection and switches to offline mode. All inspection data—checklist responses, photos, notes, and annotationssaves locally on your device. You can complete an entire inspection without any network connection.
When connectivity returns, the app syncs automatically. Your data uploads to the cloud, and any updates from the server (such as client information changes) download to your device. The sync process handles conflicts intelligently, preserving your field data while incorporating administrative updates.
Best Practices for Offline Reliability
Before heading to a property with known connectivity issues, ensure your device has sufficient storage space for photos. A typical inspection might include 50-150 images, requiring several hundred megabytes of storage.
Also verify that your checklist templates are downloaded and cached. The app caches commonly used templates, but specialized templates might need manual download before going offline.
Step 5: Generating and Delivering the Inspection Report
Home inspection report generation is where your field work becomes a deliverable. The platform compiles your checklist responses, photos, and notes into a formatted professional report.
Reviewing Before Generation
Before generating the final report, review your work. The app highlights any sections with zero items marked, helping you catch areas you might have missed. Check photo attachments to ensure images are clear and properly annotated.
The summary section shows all deficient items in one view. Review this list to confirm nothing needs additional detail or clarification. This is also where you can adjust severity ratings or add recommendations.
Generating the Report
When ready, tap "Generate Report." The system compiles all data into your branded report template. Generation typically takes 30-60 seconds depending on the number of photos and the complexity of the inspection.
Reports generate in PDF format with your company logo, contact information, and professional formatting. The output includes a summary of major findings, detailed system-by-system documentation, and all annotated photos.
Delivering to Clients
Once generated, you can deliver the report directly from the app. Enter the client's email address (or select from the inspection record) and send. Clients receive a professional email with the report attached or linked.
Many inspectors deliver reports before leaving the property, reviewing key findings verbally with clients while the inspection is fresh. This immediate delivery improves client satisfaction and reduces follow-up questions. [Internal Link: Inspection Report Writing Tips]
Tips for Maximizing Efficiency
Getting comfortable with basic features is just the start. These workflow optimizations help experienced users save additional time on every inspection.
Using Templates Effectively
Don't use a single template for every property type. Create specialized templates for condos (which might exclude roof and exterior sections you don't inspect), new construction (which emphasizes different items than resale homes), and commercial properties. Loading the right template means you're not scrolling past irrelevant sections.
Building Your Comment Library
Your comment library grows more valuable over time. After each inspection, note any observations you typed manually that could become standard comments. Well-written library comments include: clear description of the condition, why it matters, and recommended action. This consistency improves report quality while reducing writing time.
Custom Checklists
If your standard checklist doesn't match your inspection style, customize it. Add items you always check that aren't in the default list. Remove items that don't apply to your market or inspection type. Reorganize sections to match your physical walkthrough pattern. A checklist that mirrors how you actually inspect saves mental energy.
Workflow Shortcuts
Learn the gesture shortcuts. Swiping items to mark them satisfactory is faster than tapping through menus. Batch photo mode lets you capture multiple images quickly, then annotate them afterward. Voice commands can navigate between sections hands-free when your hands are occupied with flashlights or tools.
Common Mistakes to Avoid When Using Inspection Apps
Even good software can't prevent user errors. Watch for these common pitfalls that undermine inspection quality or efficiency.
Who Should Use HomeInspecto?
Different inspector profiles benefit from different aspects of the platform.
Solo Inspectors
For one-person operations, the mobile workflow eliminates the biggest time sink: after-hours report writing. Completing reports on-site means your workday ends when you leave the property, not when you finish typing at midnight. The standardized checklists also ensure consistency when you don't have colleagues to catch missed items.
Multi-Inspector Firms
Firms with multiple inspectors benefit from standardization. When everyone uses the same checklists and comment libraries, report quality stays consistent regardless of which inspector handles the job. Managers can review inspection data across the team and identify training opportunities.
New Inspectors
Inspectors just starting their careers often worry about missing items or using incorrect terminology. Structured checklists guide you through every system, and curated comment libraries provide professional language for common observations. This structure builds competence faster than learning entirely through trial and error. [Internal Link: Best Home Inspection Software 2026]
Frequently Asked Questions
Can I complete inspections without a laptop?
Yes. The platform is designed for mobile-first use. You can complete entire inspections—including report generation and delivery—from a phone or tablet. Many inspectors use tablets for the larger screen, but phone-only workflows work well too. Desktop access is available when needed but not required.
How long does report generation take?
Report generation typically takes 30-60 seconds once you tap the generate button. The time depends on the number of photos and complexity of the inspection. Most inspectors can generate and deliver reports before leaving the property.
Does the app work offline?
Yes. Full offline functionality allows you to complete inspections without any internet connection. Data saves locally and syncs automatically when connectivity returns. This is essential for basements, rural properties, and areas with poor cellular coverage.
Can I customize the inspection checklists?
Yes. You can modify existing templates or create custom checklists from scratch. Add items, remove irrelevant sections, reorganize the order, and save templates for different property types. Your customizations sync across all your devices.
What devices does it support?
The app runs on iOS (iPhone and iPad) and Android devices. Cloud sync keeps your data accessible across multiple devices, and a web interface provides desktop access when needed for administrative tasks or detailed editing.
Conclusion
Learning how to use home inspection software effectively takes practice, but the efficiency gains compound over time. Each inspection where you complete reports on-site instead of at your desk adds hours back to your week. Each standardized checklist prevents missed items that could become liability issues later.
This home inspection app tutorial covered the core workflow—from scheduling through report delivery—but the real learning happens in the field. Start with the basic features, get comfortable with the checklist interface and photo workflow, then gradually incorporate voice dictation, custom templates, and advanced shortcuts as they become natural.
The goal isn't mastering software for its own sake. It's producing thorough, professional inspection reports efficiently so you can serve more clients, reduce stress, and build a sustainable inspection business.
Ready to Streamline Your Inspection Workflow?
See how mobile-first inspection software can help you complete reports on-site and reclaim your evenings.