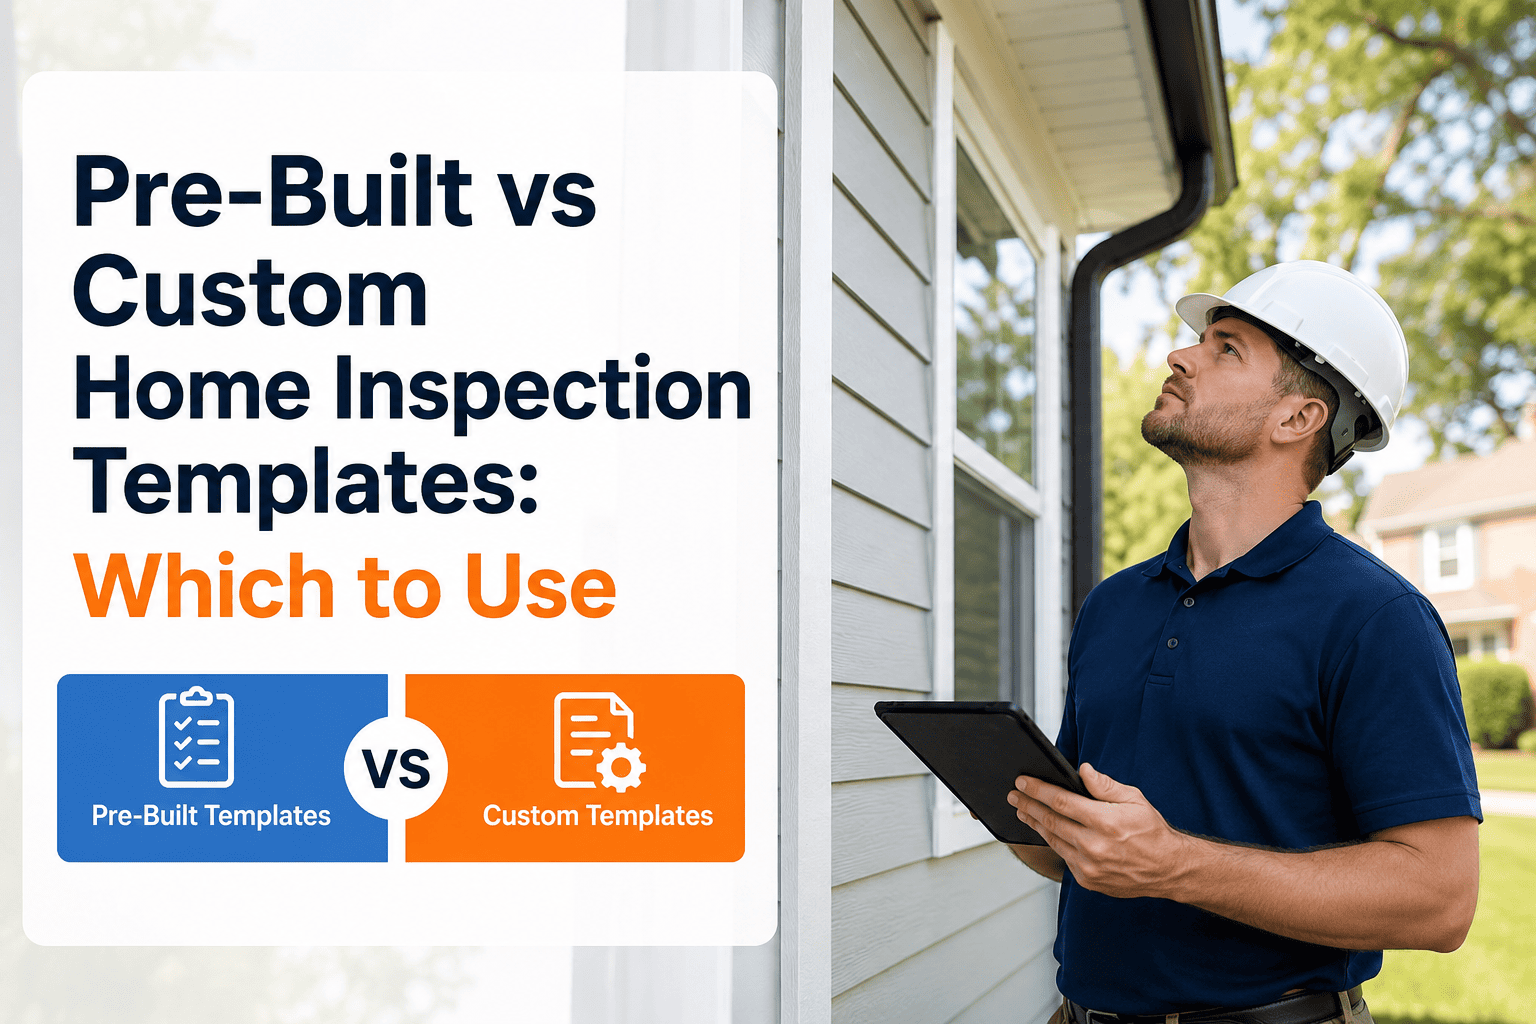
Every inspector eventually faces the same fork in the road: grab a ready-made template and start inspecting today, or spend a weekend building one from scratch that fits the way you actually work. Both choices save time — just in different ways and at different points. Pre-built templates hand you a proven structure and let you hit the ground running; custom templates take longer up front but match your workflow like a glove once they are dialed in. The smart move for most inspectors is not choosing one forever — it is knowing which approach fits which stage of your business. This guide breaks down what each option gives you, where each one falls short, and how to move from one to the other without losing momentum. If you want to see how a template that adapts to your workflow actually looks in practice, book a demo.
What a Pre-Built Template Actually Gives You
A pre-built template is a report structure someone else already figured out — sections, comment libraries, rating scales, and formatting baked in and ready to use. Most inspection software ships with at least one, and organizations like InterNACHI publish standards-aligned checklists that thousands of inspectors rely on daily. The value is speed: you skip the blank-page problem entirely and start capturing findings on your very first job.
Zero setup time
Start inspecting the same day. No blank-page problem, no section-ordering debates — the structure is already there and field-tested by other inspectors.
Standards alignment
Good pre-built templates follow InterNACHI or ASHI standards of practice, so you know every required system and component is covered without cross-referencing a separate document.
Consistency from day one
Every report follows the same order and depth whether you are inspecting a 1,200 sq ft condo or a 4,000 sq ft colonial — the template enforces the structure your clients expect.
Built-in comment libraries
Pre-loaded comments for common findings — functional drainage, GFCI protection present, visible moisture staining — save you from typing the same observations over and over.
Where Pre-Built Templates Hit Their Limits
A pre-built template is designed for the average inspection, not your specific one. The further your work diverges from the standard residential walkthrough — older homes, commercial add-ons, regional requirements — the more friction a generic template creates. Here is where that friction shows up.
What a Custom Template Gives You Instead
A custom template is your inspection process turned into a repeatable document — sections ordered the way you walk a property, comments written in your voice, items tailored to the property types you actually inspect. The payoff is speed and precision once the template is built, because every field is there for a reason and nothing is wasted.
Your walkthrough order
Sections follow the way you physically move through a property — exterior to interior, top to bottom, or whatever pattern you have refined over hundreds of inspections. No backtracking in the app.
Your comments, your voice
Every pre-loaded observation reads the way you would explain it to a client. Your liability disclaimers, your recommendation phrasing, your level of technical detail — baked in from the start.
Only the fields you need
No dead-weight sections. If you never inspect pools, septic systems, or commercial HVAC, those items do not exist in your template — so they never slow you down or confuse a client reading the report.
Local and specialty coverage
Regional requirements — radon, wood-destroying organisms, oil tanks, seismic bolting — get their own sections so you never have to remember to add them manually on-site.
Side-by-Side: Pre-Built vs Custom at a Glance
Neither approach is universally better — each excels in different situations. This comparison shows where each one saves you time and where it costs you.
| Factor | Pre-Built | Custom |
|---|---|---|
| Setup time | Minutes — ready out of the box | Hours to days, depending on depth |
| Standards coverage | Typically aligned to InterNACHI or ASHI | You control scope — can exceed or narrow |
| Local compliance | May miss state or municipal requirements | Built around your jurisdiction's rules |
| Workflow match | Generic section order | Mirrors your actual walkthrough pattern |
| Comment quality | Broad, functional, may not match your voice | Your wording, your liability language |
| On-site speed (first 30 days) | Faster — no learning curve | Slower while template is being refined |
| On-site speed (after 90 days) | Plateaus — unused sections add drag | Faster — every field earns its place |
| Maintenance effort | Low — vendor handles updates | Moderate — you own changes and additions |
The Practical Path: Start Pre-Built, Graduate to Custom
Most successful inspectors do not pick one approach and lock it in forever. They follow a three-stage progression that captures the benefits of both without the downsides of either.
Use the default template as-is
Run your first 20 to 30 inspections on the pre-built template. Focus on learning the software, building inspection rhythm, and understanding what the template handles well versus where it creates friction. Take notes on what you want to change — but resist the urge to rebuild before you know the tool.
Customize incrementally
After 30 inspections, you know which sections you skip, which comments you rewrite every time, and where local requirements are missing. Edit those first — reorder sections to match your walkthrough, rewrite the five comments you change most often, add your jurisdiction-specific items. Small, targeted edits compound fast.
Own your template
By inspection 75 to 100, your template is essentially custom — shaped by real field experience, not guesswork. From here, maintain it quarterly: add new comments as you encounter new defects, refine wording based on client feedback, and update sections when regulations change. The template is now a competitive advantage.
Five Customizations That Pay Off First
If you are staring at a pre-built template and wondering where to start editing, these five changes deliver the most immediate return on the time you invest.
Reorder sections to your walkthrough
Match the template's section order to the way you physically move through a property. Eliminating scroll-and-hunt on the tablet saves two to five minutes per inspection — that is 15 to 30 hours a year at five inspections per week.
Rewrite your top ten comments
Identify the ten findings you document most often — functional drainage, GFCI protection, water heater age — and rewrite those comments in your voice with your liability language. Those ten comments cover a large share of total report content.
Add local compliance sections
If your state requires radon testing disclosure, wood-destroying insect reports, or specific safety disclosures, add dedicated sections so you never rely on memory to include them.
Remove sections you never use
Delete or hide items irrelevant to your market — pools in a no-pool region, outbuildings in a condo market. Fewer sections mean fewer taps, faster completion, and a cleaner report for the client.
Add a summary section at the top
Clients and agents read the summary first. If your default template buries it or omits it, add a summary section that captures major findings, safety concerns, and recommended actions in one place.
Templates Should Work the Way You Inspect — Not the Other Way Around.
HomeInspecto gives you a standards-aligned starting template, a reusable comment library, and full customization control — so your template grows with your business instead of holding it back.
Frequently Asked Questions
Start Inspecting Today. Customize as You Grow.
HomeInspecto pairs a ready-to-use template with full customization control, a reusable comment library, and instant PDF delivery — so you are never stuck between speed and precision. Book a demo or start your free trial. No credit card required.