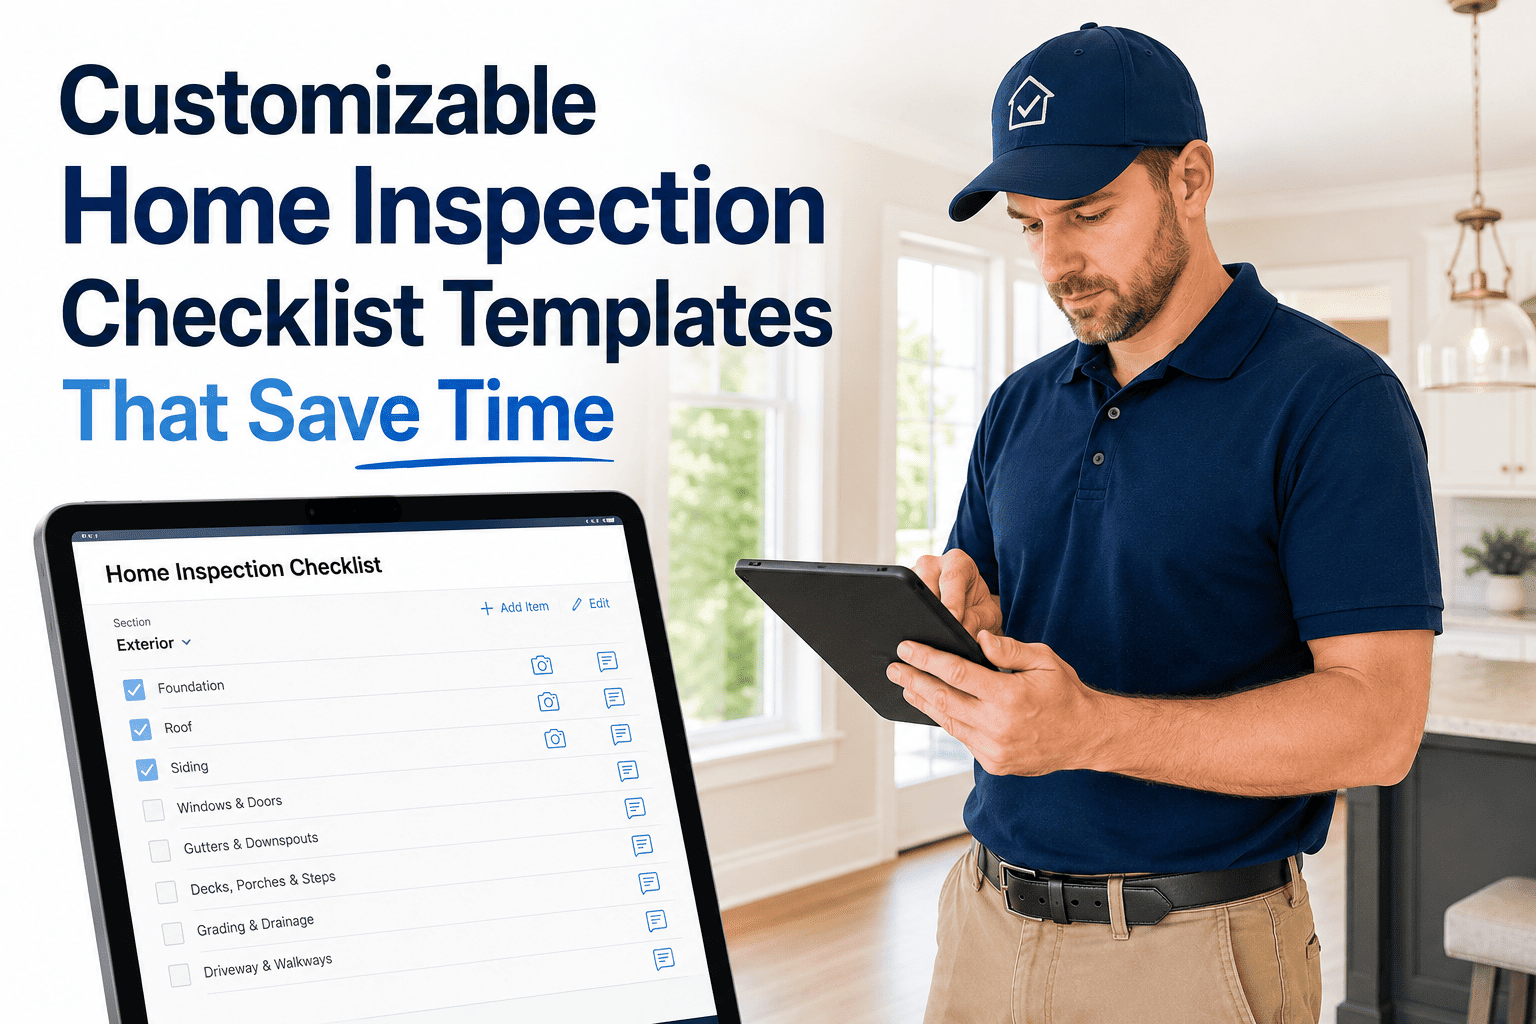
No two houses are the same — but every inspection starts with the same question: does this template match the property in front of me? A rigid checklist either includes items that do not apply (pool equipment in a condo) or misses items you need (radon disclosure in your state). A customizable template eliminates both problems. You keep the proven structure that ensures consistency across every job, then add, remove, or reorder items to match the property type, your jurisdiction, and the way you physically walk through the building. The result is a checklist that speeds up your workflow instead of fighting it. This guide covers what to customize, how to build variants for different property types, and the template habits that save the most time. If you want to see customizable templates in action, book a demo.
Templates & Workflow — Checklists
Your Checklist Should Match the Property — Not the Other Way Around
Editable templates let you keep the structure that ensures consistency while adapting to every property type, jurisdiction, and walkthrough pattern.
Why a Fixed Checklist Slows You Down
A checklist that cannot be edited forces you to work around it. Sections you never use still appear on every job. Items your state requires are missing. The order does not match your walkthrough. These friction points seem small individually, but multiplied across hundreds of inspections, they cost hours.
Irrelevant sections
Scrolling past pool, septic, and outbuilding sections on every condo inspection wastes time and adds visual clutter to the report the client reads.
Missing local items
State-specific requirements — radon disclosure, wood-destroying insect reports, seismic retrofit — are not in a generic national template. Forgetting them creates compliance gaps.
Wrong walkthrough order
If the template starts with interior but you inspect exterior first, you spend every job jumping between sections instead of moving linearly through the property.
Generic comment wording
Pre-loaded comments that do not match your voice, liability language, or detail level mean you rewrite the same findings on every job instead of tapping and moving on.
The Six Customizations That Matter Most
You do not need to rebuild your template from scratch. These six targeted edits deliver the biggest time savings and require the least effort — most can be done in a single afternoon.
Reorder sections to your walkthrough
Match the template to the way you physically move through a property. If you start exterior, move the exterior section to the top. Eliminating scroll-and-hunt saves two to five minutes per inspection.
Add state-specific items
Add sections for radon, wood-destroying organisms, oil tanks, seismic bolting, or any other requirement your jurisdiction mandates. Built-in prompts mean you never rely on memory to include them.
Remove sections you never use
Delete pool, septic, well, or outbuilding sections if they do not apply to your market. Fewer sections mean fewer taps, a faster completion time, and a cleaner report for the client.
Rewrite your top comments
Identify the ten to fifteen findings you document most often and rewrite them in your voice with your liability language. Those comments cover the majority of report content — getting them right saves the most time.
Create property-type variants
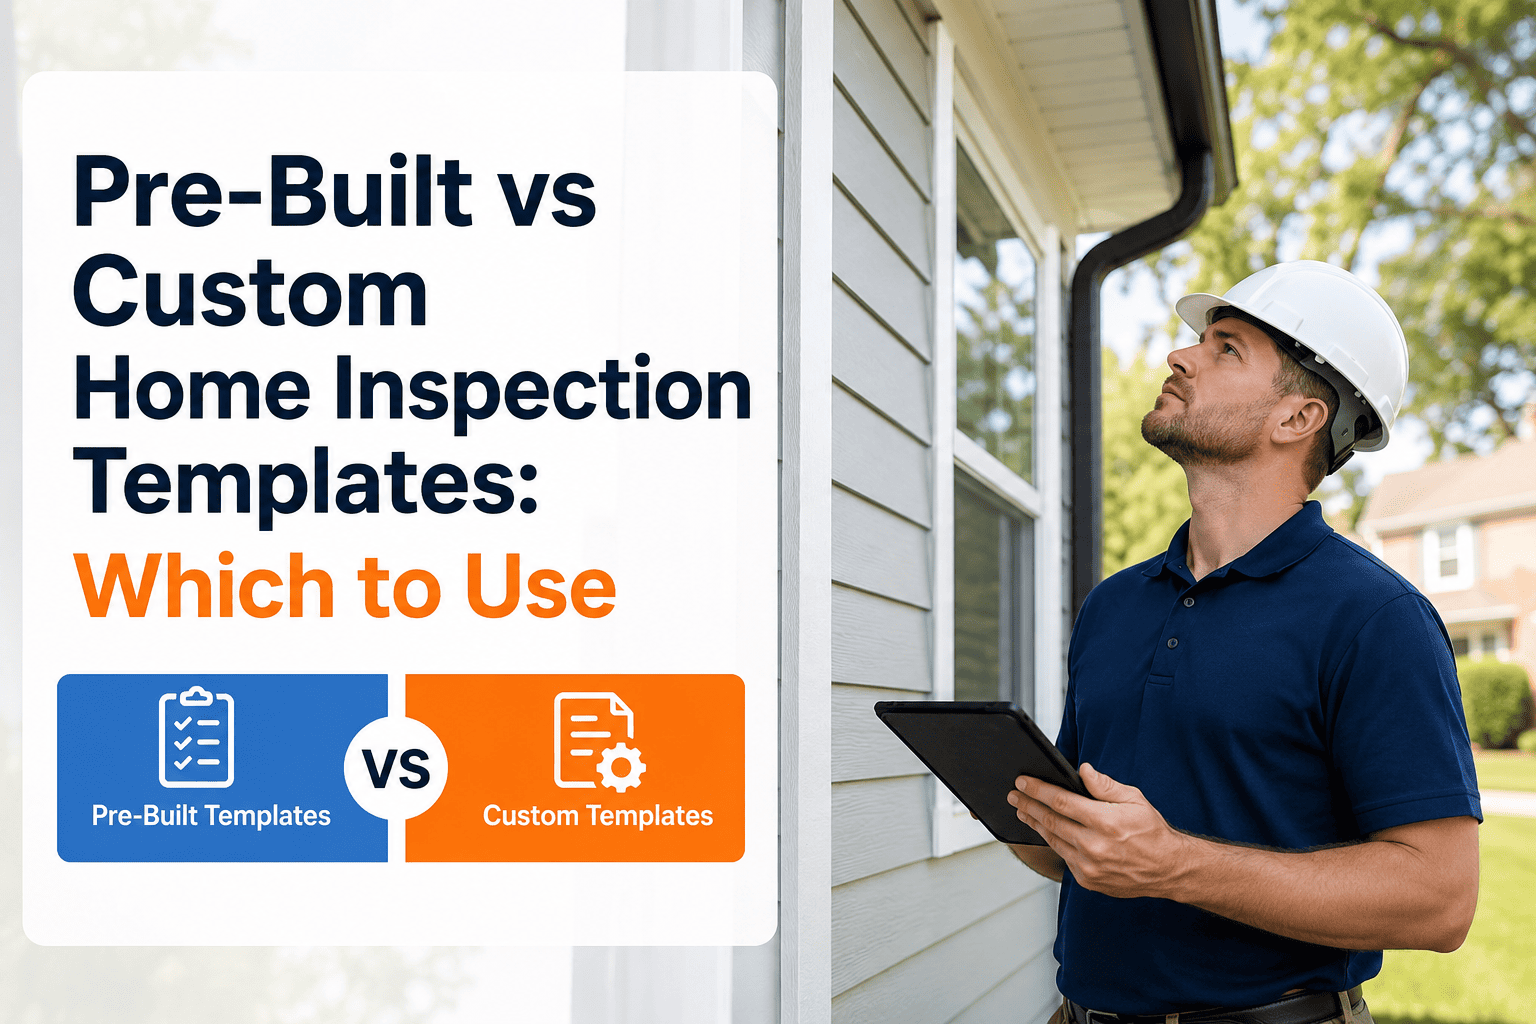
Duplicate your base template and create variants — one for single-family, one for condos, one for townhomes, one for multi-family. Each variant includes only the sections relevant to that property type.
Add a summary section
If your default template does not start with a summary, add one. Clients and agents read the summary first — major findings, safety concerns, and recommended actions in one place before the detailed sections.
Edit everything. Rebuild nothing. HomeInspecto lets you reorder sections, add or remove items, rewrite comments, and save multiple template variants — all without starting from scratch.
Building Template Variants by Property Type
One base template adapted into three to four variants covers the vast majority of residential inspection work. Each variant shares the same core structure but includes only the sections that apply to that property type.
Single-family home
Your full template — all sections active. Roof, exterior, structure, attic, crawlspace, garage, yard, electrical, plumbing, HVAC, interior, kitchen, bathrooms, laundry, and all specialty items relevant to your market.
Condominium
Remove roof, exterior cladding, yard, foundation, attic, crawlspace, and garage sections (covered by the HOA). Add common-area notes and note which systems are unit-owner responsibility versus HOA responsibility.
Townhome
Keep roof and partial exterior sections but note shared walls. Remove yard if there is no private outdoor space. Add sections for shared systems — drainage, fencing, party-wall fire separation — that single-family templates do not cover.
Multi-family or duplex
Add a repeatable unit template and a separate common-area section. Remove items that apply only to single-family (single-car garage, private well). Add shared systems: central HVAC, boiler, common laundry, fire safety.
One Base Template. Multiple Variants. Every Property Covered.
HomeInspecto lets you duplicate your base template, create property-type variants, and switch between them with one tap — so every inspection starts with the right checklist for the right property.
Frequently Asked Questions
Can I customize a pre-built template or do I need to build one from scratch?
You almost never need to start from scratch. The most efficient approach is to take the pre-built template your software provides, then reorder sections, rewrite comments, add local items, and remove sections irrelevant to your market. Small targeted edits compound quickly — within a few weeks, your template feels fully custom without the multi-day project of building from zero.
How many template variants should I create?
Three to four covers most residential work: single-family home, condo, townhome, and optionally multi-family or duplex. Each variant shares the same core structure but includes only the sections relevant to that property type. More than five variants usually means you are over-segmenting and adding maintenance overhead without meaningful time savings.
What is the best section order for an inspection template?
The one that matches how you physically walk through a property. Most inspectors start with the exterior and roof, then move inside from the ground floor up — but the right order is whatever sequence you use consistently. The point is eliminating the need to jump between sections on the tablet. Match the template to the walkthrough, not the other way around.
How often should I update my template?
Review quarterly. Add comments for new findings you encounter, update wording based on client or agent feedback, revise sections when your state changes its standards of practice, and remove items that have become irrelevant. A template that has not been touched in a year is almost certainly costing you time through outdated content or missing items.
Does HomeInspecto support customizable checklist templates?
Yes. HomeInspecto ships with a standards-aligned template and lets you reorder sections, add or remove items, edit comments, and save multiple variants for different property types. Templates sync across devices and apply instantly to new inspections. Book a demo to see the template editor, or start a free trial and customize on your next job.
Adapt the Checklist. Not Your Workflow.
HomeInspecto gives you editable templates, property-type variants, a reusable comment library, and one-tap switching — so every inspection starts with the right checklist. Book a demo or start your free trial. No credit card required.